The Second Cuban Link
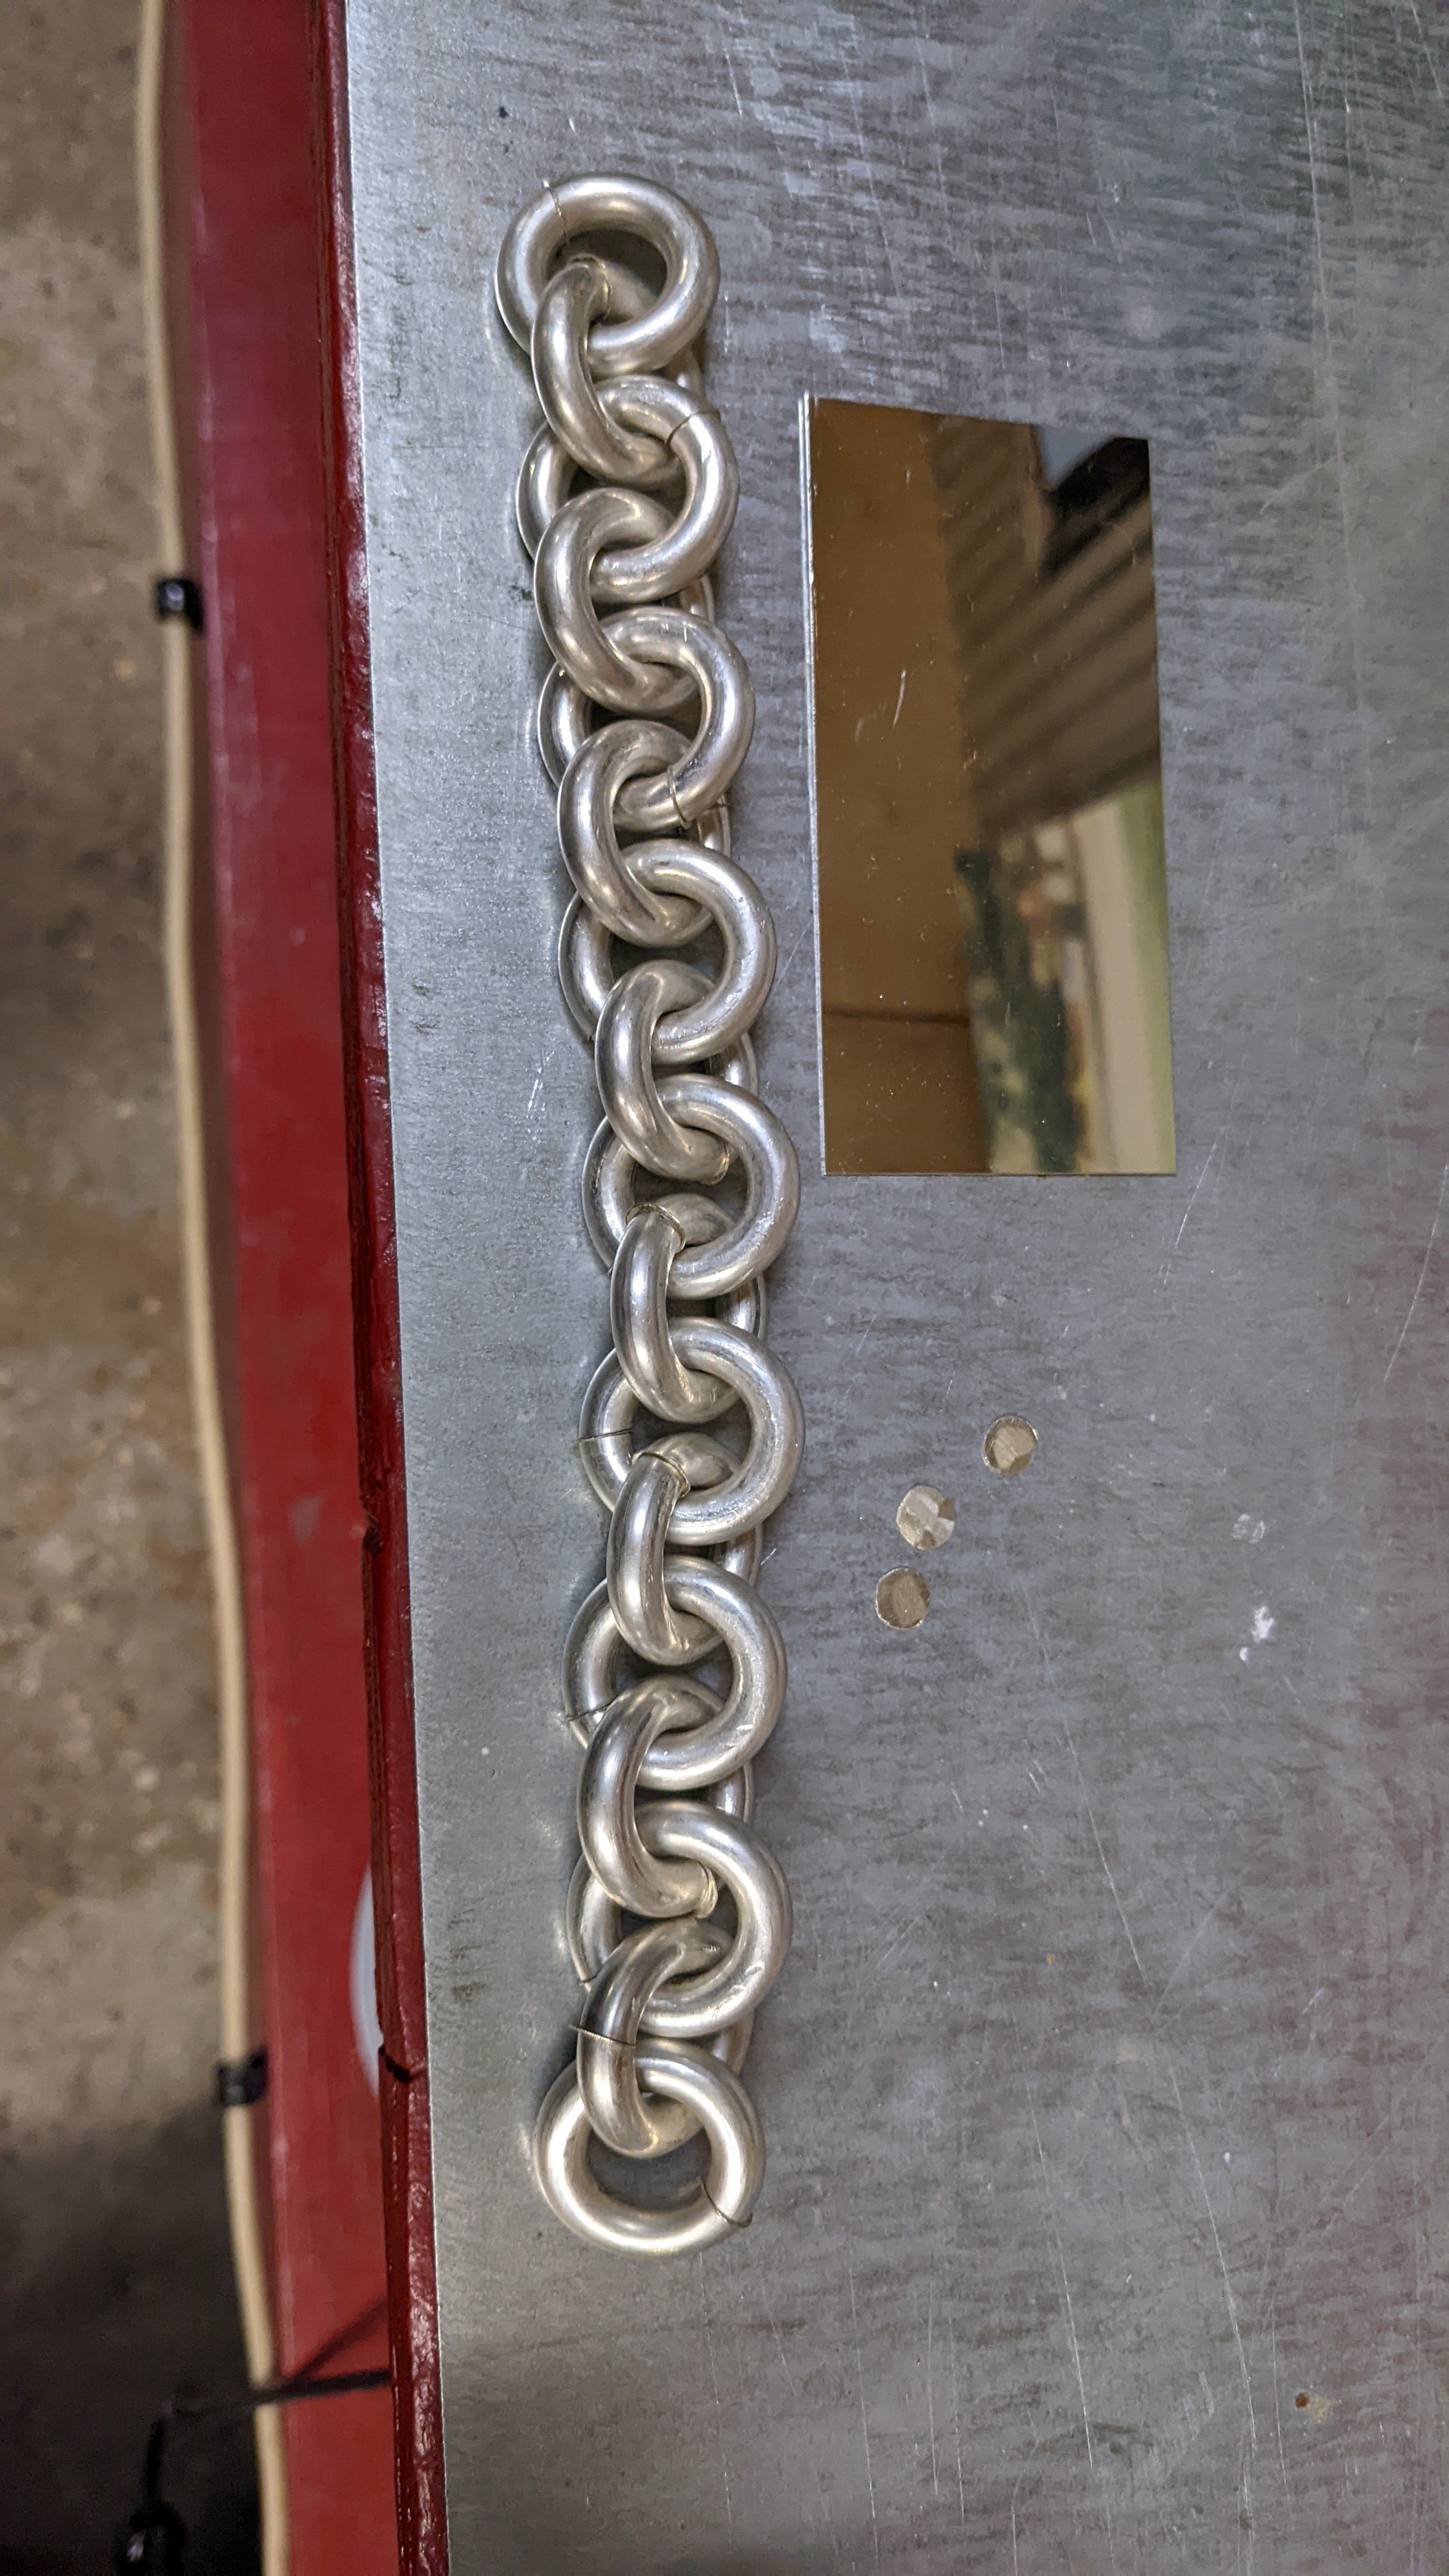
Armed with more knowledge than the first time and the same exact task, I was to make another identical Cuban link bracelet only an inch longer than the one previous. I started out with a solid 1/4” rod of .925 sterling silver. After tightly wrapping the material around a 1/2” tire iron I cut the newly coiled wire down the side to form the links. After bending the gaps back together, I insert sandpaper between each one in order to ensure the solder joint is as tight and clean as possible.
I then take a sheet of solder and use a hole punch to create small disks of solder that I can put directly into the joint. After applying flux to the whole bracelet to keep the oxygen in the air from having a reaction with the silver during the heating process, I focus the heat on each individual joint until the solder flows and the link is welded.
At this point I drop the now hot chain in a warm bath of a specific acid or “pickle” that will remove any oxidation. From there each solder joint must be fine sanded all the way around to ensure it is smooth and indistinguishable from the other parts of the link. I then take the chain over to my lathe where a consistent tension is applied while the links are twisted; giving it that defined Cuban link look.
During the twisting process the bracelet must be “annealed” or softened to prevent it from becoming brittle and cracking. After the bracelet is laying flat it is bonded to a backer with shellac resin. The chain is then filed and sanded to created the also iconic flat surfaces. It’s at this time when the length is carefully measured and a clasp must be made. This particular clasp is the most hidden and concealed style. It uses a split link and an elaborate series of bends in a sheet of silver to create a male tenon and female mortise.
This is all soldered in the same fashion as the previous steps. Safety clips are an important addition to the design. To make these, small silver tubes are soldered to the sides of the clasp and small silver balls to the other side, then silver wire is fed through the tube and welded onto itself to create loops. These loops have the appropriate amount of tension to snap over the silver balls and stay in place.
I hit the bracelet on the high polish buffing wheel, ensuring to hit every nook and cranny. It was then shipped to Louisiana to its new home! This bracelet weighed just under a pound at 14oz and measured 9.5” not including the length of the clasp.